
I wanted to take a moment to explain how to create a simple “Hello World” PyCommand script that I learned about while working my way through the modules in the SPSE certification … I will finish this cert one day I promise!
Our Tools
- Windows XP RTM
- Immunity Debugger
- Text Editor
Python All The Things
As it turns out Immunity Debugger leverages python extremely heavily for it’s plugins, commands, hooks, etc. I feel like this is something that I really should have dug into much deeper before now … but either way I am digging in now!
Finding Our Path
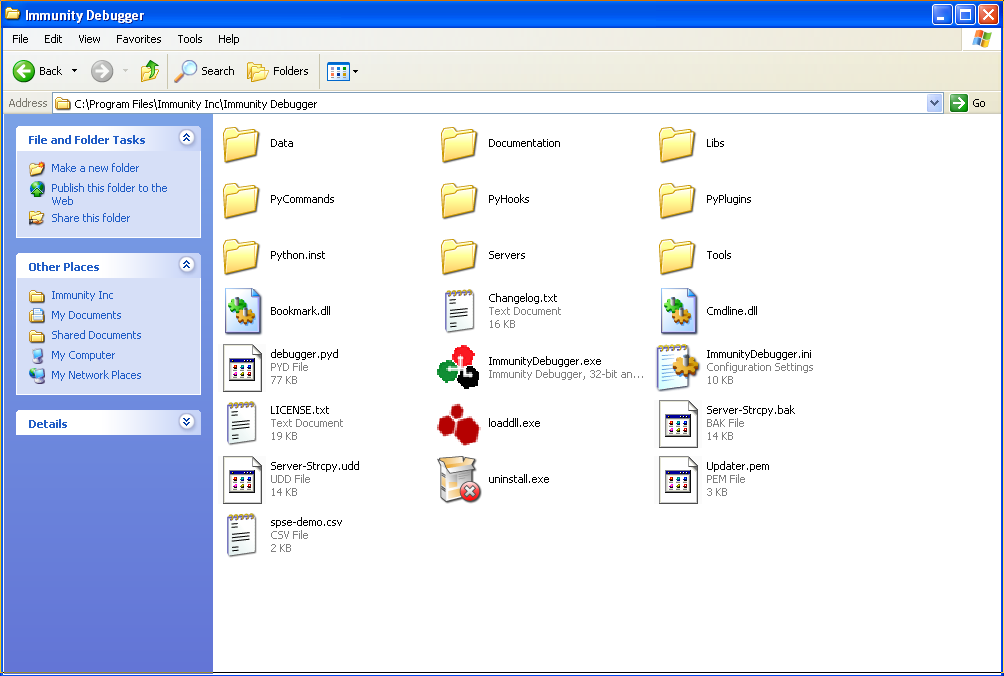
If you install Immunity Debugger to the default location then the base path we are going to be working with will be:
My Installation Path:
C:\Program Files\Immunity Inc\Immunity Debugger
… if not then you need to navigate to that location instead
Inside that directory are three subdirectories that will be of interest to us:
PyCommands
PyHooks
PyPlugins
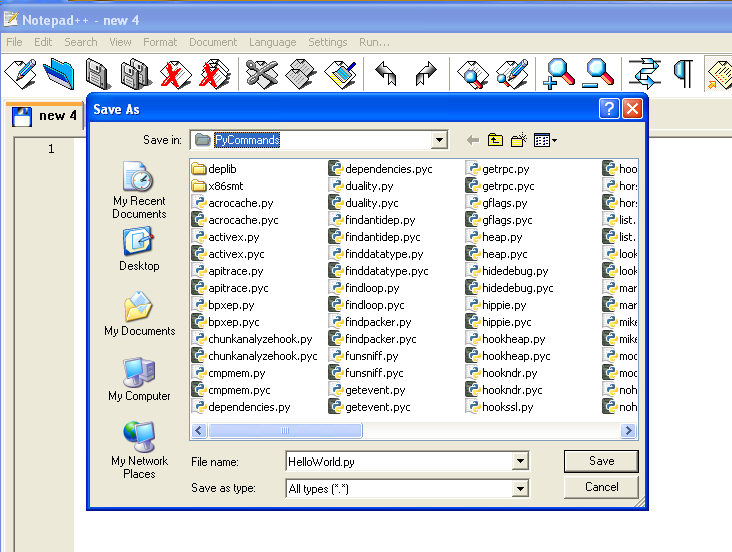
Take That PyCommand and Shove It …
Now that we know where the PyCommand folder is we need to save our HelloWorld.py file into it!
Go Go PyCommand …
Once we have created our empty PyCommand file it’s time to write a little python and bring that script to life!
Below is a very simple Hello World Immunity Debugger PyCommand python script with comments explaining what is happening:
#!/usr/bin/python

# importing the standard set of immunity debugger libraries
import immlib

# this shows up as the description under the list of PyCommands
DESC = "Hello World PyCommand!"

# we need to define a main function which can accept arguments
def main(args):

	# creating a variable to hold our debugger
	imm = immlib.Debugger()

	# returns a string which updates the log and status bar with this value
	return "Hello World!"
At this point we can actually run the command since Immunity Debugger will dynamically load the command each time it is invoked, preventing us from needing to reload Immunity itself!
But how do we run the PyCommand?
Run PyCommand Run …
The first step to running our newly created PyCommand is to launch Immunity Debugger. Once it is loaded there will be a small white text box on the bottom of the window where commands can be entered.
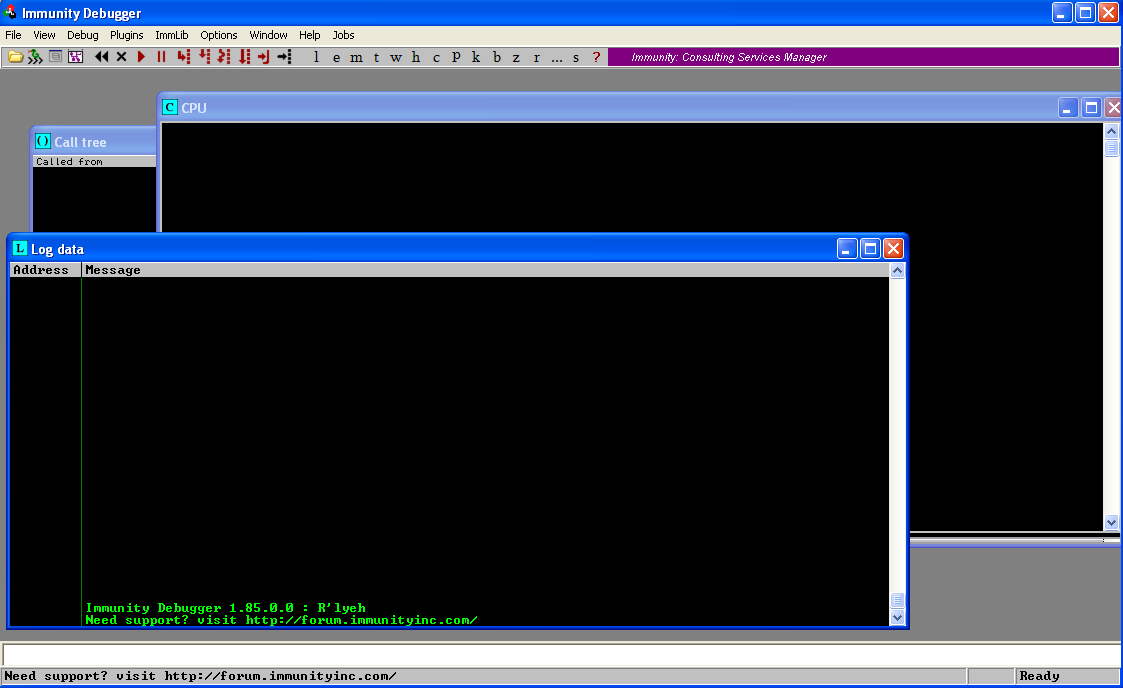
All that we need to do is enter the following command in that text box and then hit Enter:
!HelloWorld
Note that the command we enter is the filename of our PyCommand minus the .py extension
http://fellowshipofthetokenring.com/
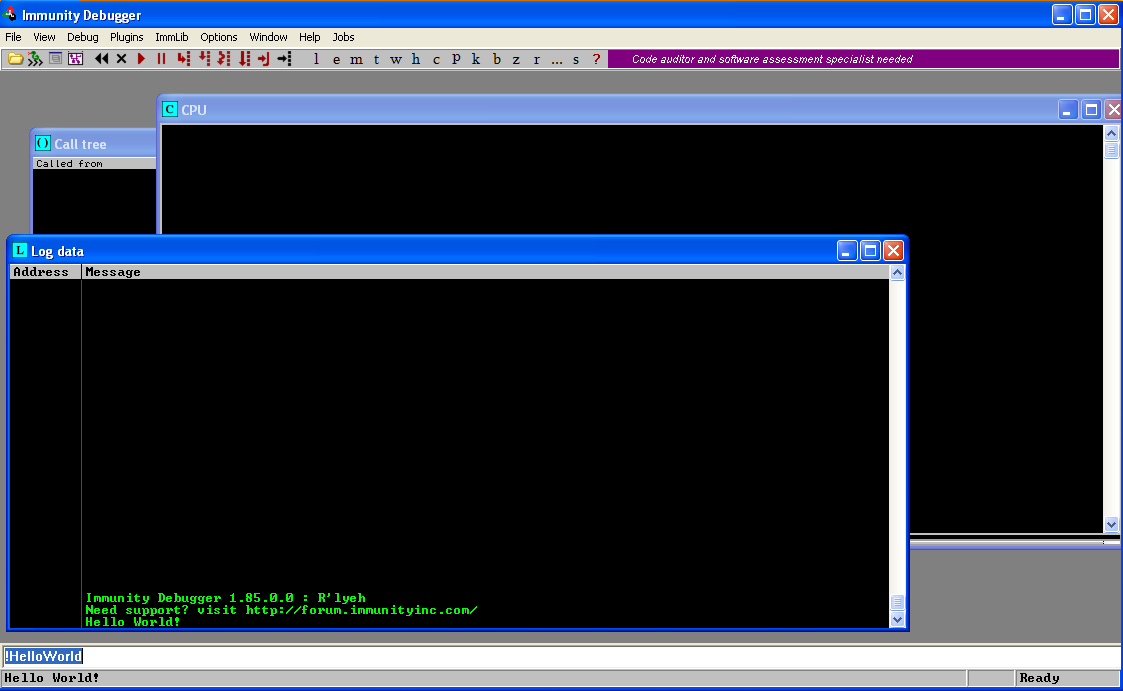
After which we will see that our PyCommand has run!
Another way to run the command is to click the icon on the top of Immunity Debugger called PyCommands List, which will bring up the following window.
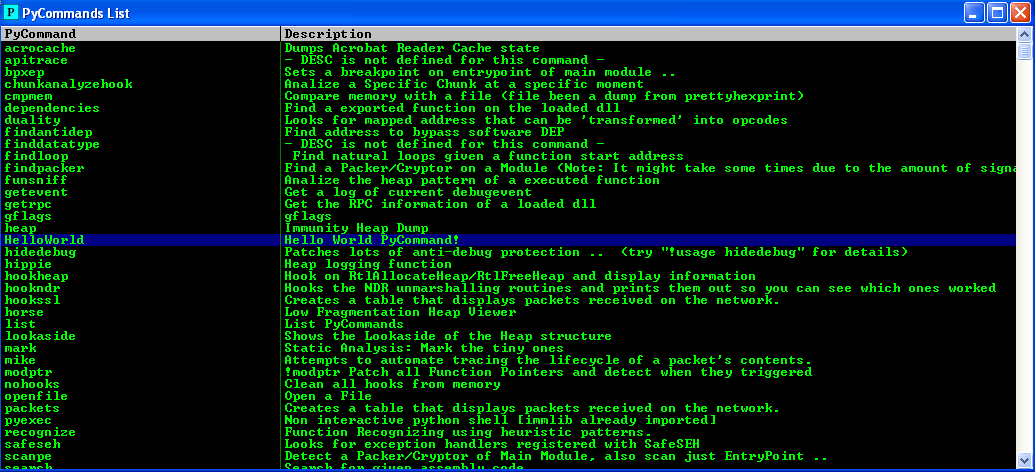
At which point you can simply double click the row called Hello World (which also has a description of Hello World PyCommand from our python script) and clicking ok without passing any arguments.
To Be Continued …
There is a ton more advanced functionality to talk about, however I just wanted to put this post together mostly to help cement for myself how to create a super simple PyCommand! As time permits (and I continue learning more) I will continue to post more complex plugins/commands/hooks!
More Information:
Links
On the machine where Immunity Debugger is installed
- file:///C:/Program%20Files/Immunity%20Inc/Immunity%20Debugger/Documentation/Ref/index.html
- C:\Program Files\Immunity Inc\Immunity Debugger\Documentation\IMMLIB.HLP
